 Cookie preferences

A significant change is due to be implemented in 2025 in the European electricity market: Prices will be set per...
Latest posts
-
 Transition to 15-minute pricing in the European electricity marketRead more
 -
 Assumed bug on Aidon meters with HAN-NVE interfaceRead more
We assume this is a bug on Aidon smart meters with HAN-NVE interface (Norway, Sweden and possibly Finland).
-
") Kamstrup Omnipower scale errors on some parameters (known to happen in Sweden and Denmark)Read more
Kamstrup Omnipower scale errors on some parameters (known to happen in Sweden and Denmark)Read moreSome grid companies have increased the number of decimals on some parameters, here is how to update your device.
-
 Updating device over USB cable, simplified methodRead more
Some users experience difficulties using one of the Over-the-air (OTA) methods for firmware upgrade. We propose a...
-
 Kamstrup Omnipower HAN port not workingRead more
How to cure the Kamstrup Omnipower meter hick-up (meter stops pushing data)
-
 Kamstrup Omnipower meters in Sweden: Which configuration should you choose?Read more
Swedish grid companies are moving from "HAN-NVE" configuration to "P1" configuration. Some grid companies allow their...
-
 L2 current not available!?Read more
Some users have noticed that the device is no longer reporting current on phase L2.
-
 Swedish customers and PostNord as "Tullombud"Read more
Swedish customers receiving our shipments via Postnord are mislead to think they have to pay customs fee and VAT....
-
 One-click upgrade is not workingRead more
One-click firmware upgrade works just fine for most users - but what to do if it fails?
-

Blog categories
Search in blog

Updating device over USB cable, simplified method
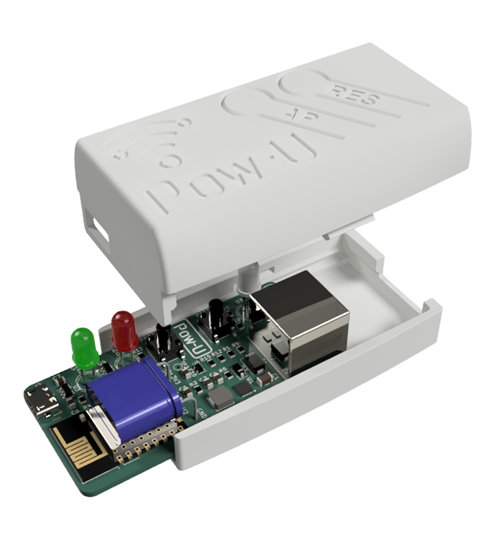
Your Pow-device will regularly indicate that a new firmware version is available - and we always recommend running the last version.
Most of us upgrade without issues using the "one-click" method: Simply click the link that appears on the top bar when an upgrade is available:
However, this sometimes will fail, probably due to delays between the server and your computer.
The next best method is then to download the binary file *.bin for your microcontroller version from the Release section on Github. Then go to the status/info page, click the button "Select firmware file for upgrade" - and follow the instructions.
However, we see that for a few users this also fails.
Well... there is a third option that can be used on all newer Pow-devices with ESP32 microcontroller: Upgrade over USB cable. In that way we avoid all potential issues due to Wi-Fi.
The easiest way to do this is by using a web based tool that exploits the Web Serial API. Unfortunately, not all browsers support this, so you might need to change to a compatible browser. We know that it works in Chrome browser on a PC, so that is what we recommend.
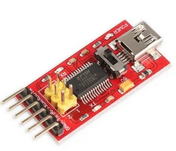
If you have not tinkered with flashing firmware on modules, you probably do not have the necessary driver on your computer. In that case, follow the instruction on this page to install the driver.
We are now ready, and the steps are the following:
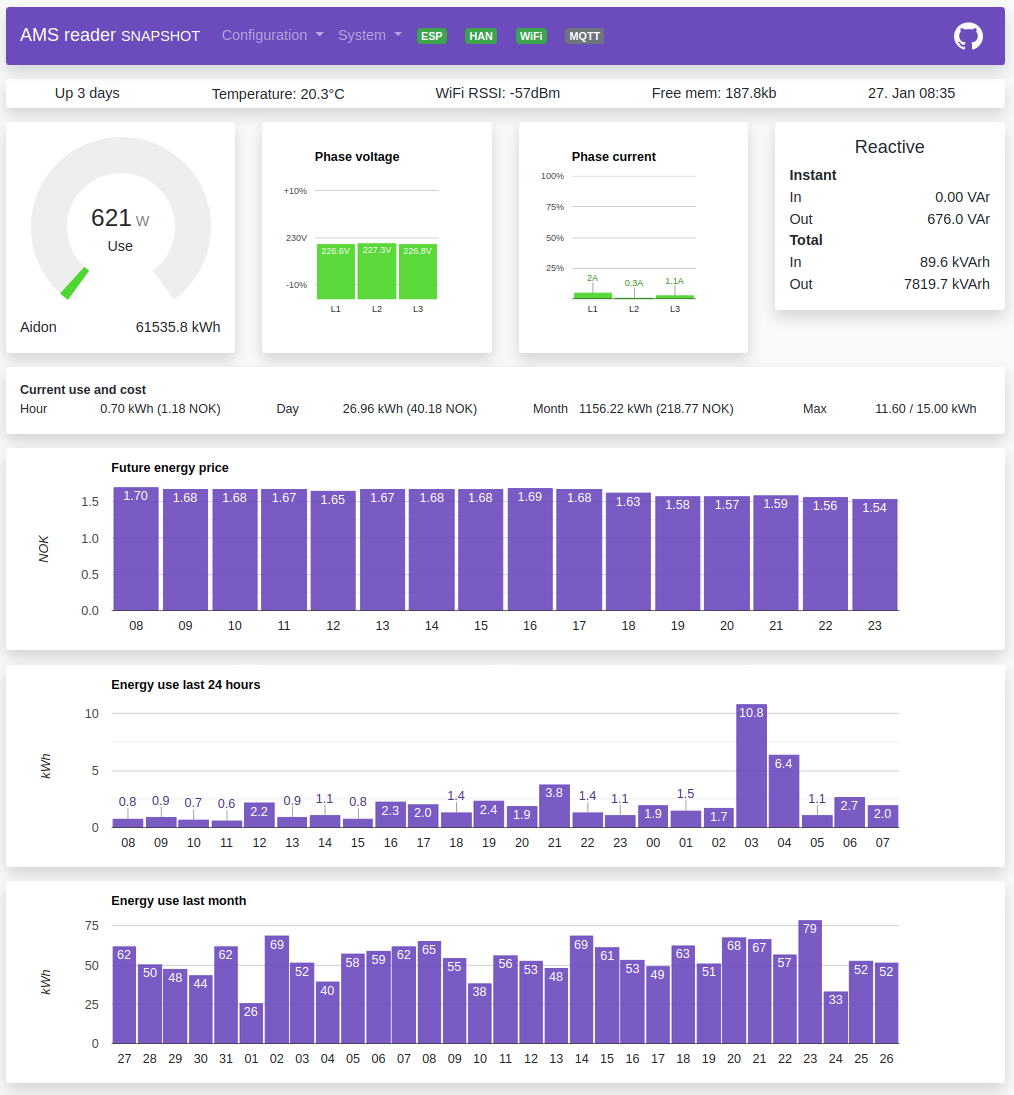
- Backup your current settings of your device by going to the Status/Info page and use the Download button on this tile:
- Open this page in a Chrome browser window: https://www.amsleser.cloud/flasher
- Click the green "Connect" button. An empty window should open up.
- On your Pow device: Press and hold AP, press/release RES, release AP
- The port of the ESP should now show up like this:
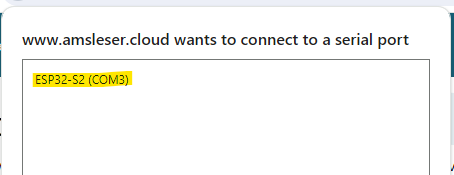
- Select it and press the blue "Connect" button.
- A page will now be presented where you can select which firmware version you want to install:
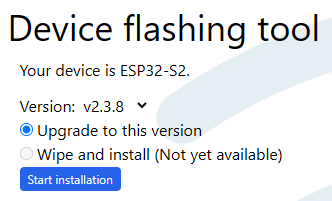
- Double check that the files and memory locations are set exactly as shown above if you flash a Pow-K, Pow-U or Pow-P1 (using ESP32-S2).
- Press the "PROGRAM" button.
- You should now see the upload process to the device running in the output window:
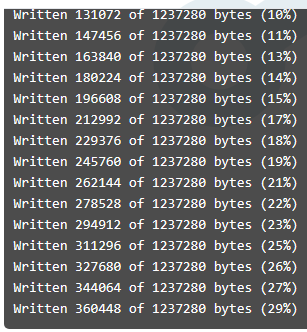
- When finished, press the RES button on your Pow device.
- Depending on whether the device still remembers previous settings, you may or may not see "boot" activity on the LED.
- If no activity on the LED, or if the LED goes to
- Steady white on a Pow-U or Pow-P1 (which is blue and yellow at the same time)
- Steady yellow on a Pow-K
- ... then you must search for the access point AMS2MQTT in your list of Wifi access points, and connect to it.
- Open http://192.168.4.1/ to configure your device, just like you did when you first received the device.
- When configuration is done and device has restarted, you may want to restore your settings from the backup file you created earlier, by using the "Select file..." button on the Status/Info page.
That's it. Congratulations, you have now upgraded your device over USB cable.
Related posts
-
 How do I fix a bricked device?
If you by a mistake uploaded over Wifi a wrong firmware (intended for an other microprocessor), the device will not...Read more
How do I fix a bricked device?
If you by a mistake uploaded over Wifi a wrong firmware (intended for an other microprocessor), the device will not...Read more -
 Home Assistant med Pow-K
The Danish YouTube-channel Kenneths Teknik made an instructive video that shows how to connect a Pow-K to Home...Read more
Home Assistant med Pow-K
The Danish YouTube-channel Kenneths Teknik made an instructive video that shows how to connect a Pow-K to Home...Read more -
 Can Pow-U and Pow-K show energy produced from solar panels or wind turbines?
Especially solar panel installations are starting to become common, so we want to monitor power and energy from them!Read more
Can Pow-U and Pow-K show energy produced from solar panels or wind turbines?
Especially solar panel installations are starting to become common, so we want to monitor power and energy from them!Read more -
 How can I read data from my Pow-K / Pow-U when I'm not at home?
Many of us do not like the idea of sending our power consumption data to some cloud service where we do not really...Read more
How can I read data from my Pow-K / Pow-U when I'm not at home?
Many of us do not like the idea of sending our power consumption data to some cloud service where we do not really...Read more -
 Pow-U: Can the external power be connected while Pow-U is connected to the meter?
In some use situations, the Pow-U will have difficulties maintaining its voltage level and will reset frequently (see...Read more
Pow-U: Can the external power be connected while Pow-U is connected to the meter?
In some use situations, the Pow-U will have difficulties maintaining its voltage level and will reset frequently (see...Read more
Leave a comment
Comments
https://bce.telkomuniversity.ac.id/server-pengertian-fungsi-jenis-dan-cara-kerjanya/
By: Bce On 15-Mar-2026This is a very helpful explanation of the different firmware upgrade methods. I like how you outline alternative solutions when the one-click update fails, especially the USB upgrade for ESP32 devices. It’s practical troubleshooting advice. I’m curious—do firmware failures usually happen because of unstable Wi-Fi connections or server delays?
Replied by: Egil Opsahl On 19-Mar-2026
Update to 2.3.5
By: Roger Lippuner On 27-May-2024Hi there,
options 1 and 2 failed on several occasions and I was about to give option 3 a chance. Unfortunately, neither of my 3 browsers (edge, chrome, brave) shows your instructions (I guess, it is a screenshot) in step 9. As I do not want to brick my device, could you please post (again) or e-mail your instructions regarding the the files and memory locations?
Thank you very much!
Replied by: Egil Opsahl On 06-Jun-2024